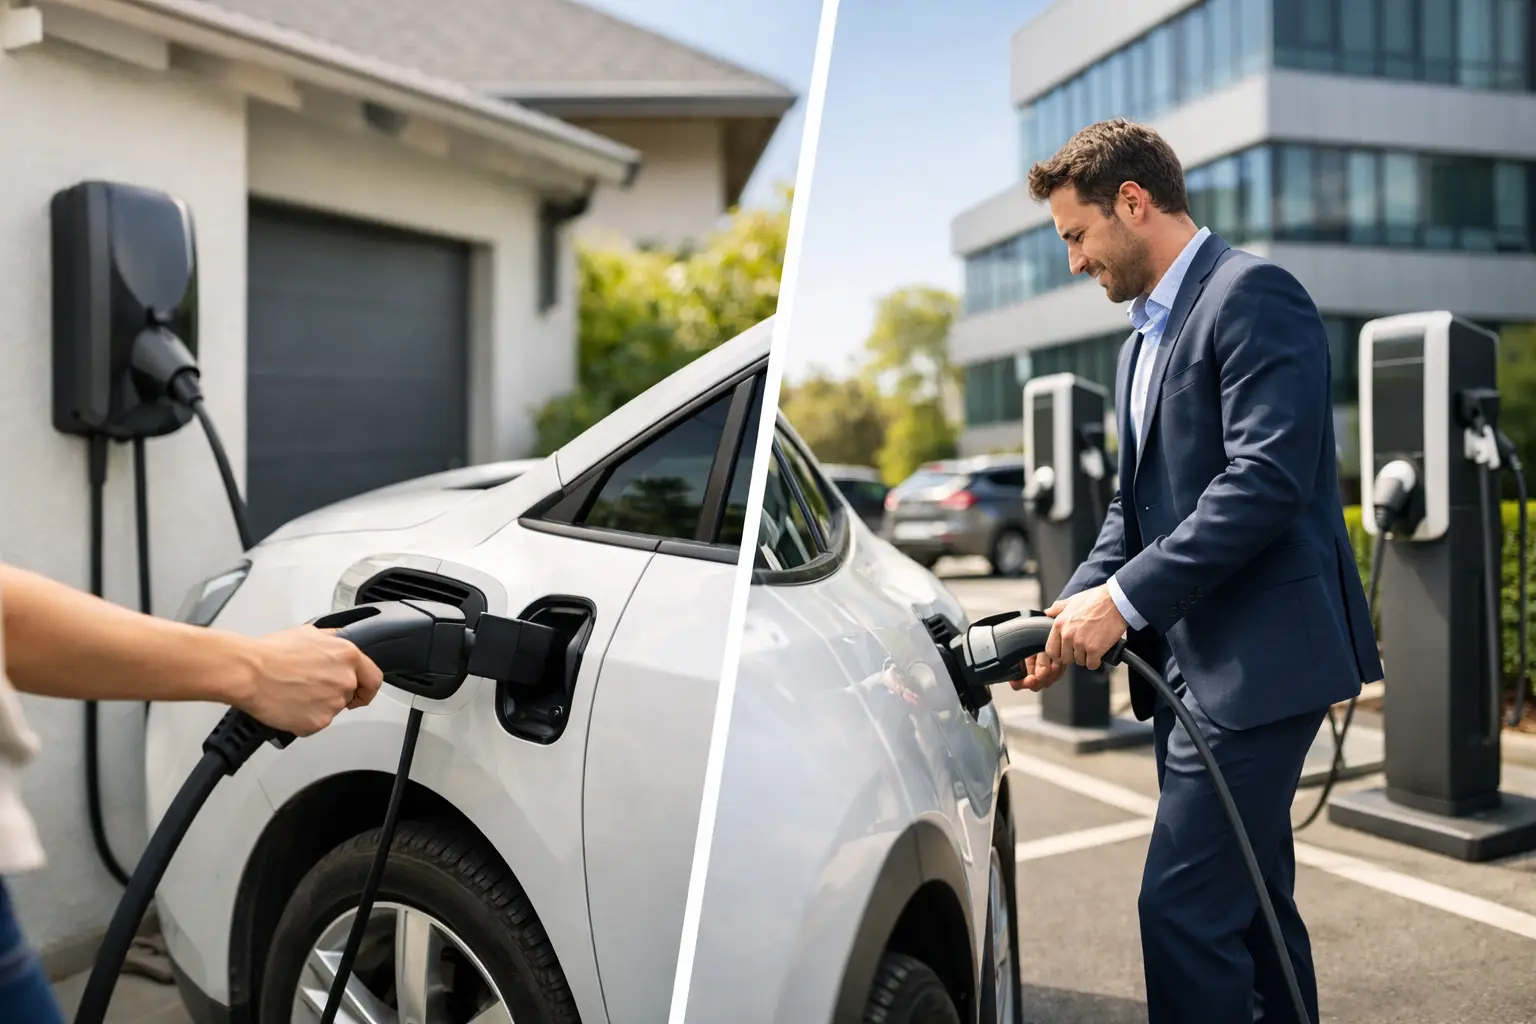
An EV charger is not just another outlet in the garage or parking lot. It is a long-duration electrical load that needs the right circuit, equipment location, and capacity behind it. Knowing how to plan EV charging before purchasing equipment helps homeowners and business operators avoid undersized circuits, inconvenient charger locations, and costly changes after the work has started.
Start With How the Vehicle Will Be Used
The first question is not which charger looks best. It is how much driving needs to be replaced each day and how long the vehicle will typically be parked. A homeowner who drives 30 to 50 miles most days and parks overnight has different needs than a business operating fleet vehicles between shifts.
Level 1 charging uses a standard 120-volt receptacle and can work for low-mileage driving or occasional charging. It is slow, however, and should not be treated as a permanent solution without confirming that the receptacle and circuit are in good condition. A dedicated Level 2 charger, usually powered by a 240-volt circuit, is the practical choice for many homes because it adds useful range during an overnight charging window.
For commercial sites, consider vehicle dwell time first. Employee vehicles may sit for eight hours or more, while delivery, service, and fleet vehicles may need faster turnaround. Charging speed should match the actual operating schedule, not simply the highest output available.
Calculate the Charging Window
A vehicle does not need to charge at maximum speed every night. If it is parked for 10 to 12 hours, a moderate-output Level 2 charger may cover daily needs without placing unnecessary demand on the electrical system. If several vehicles must charge in a shorter window, higher capacity or managed charging may be appropriate.
This is where planning prevents overspending. More charging power can be useful, but it may also require a larger circuit, additional conduit, panel work, or utility coordination. The best design is the one that reliably supports the way vehicles are actually used.
Choose the Right Charger Location
Charger placement affects daily convenience, installation cost, and long-term durability. At a home, the charge port location on the vehicle matters. A charger installed on the wrong side of a garage can leave a cord stretched across a walkway or force the vehicle to be parked in an awkward position.
The charger should be close enough to the parking location for normal use without relying on extension cords. It should also be placed where the cable can be stored neatly and where the equipment is protected from vehicle impact, water exposure, and physical damage. Outdoor-rated equipment may be needed for driveways, carports, and exterior parking areas.
At commercial properties, charger locations need a wider review. Think about parking patterns, accessible routes, bollard protection, lighting, signage, drainage, snow and weather exposure, and whether drivers can reach the equipment without blocking traffic. A charger that is electrically simple but poorly located can create an ongoing facility problem.
Confirm Panel Capacity Before Buying Equipment
A Level 2 charger needs a dedicated circuit sized for the charger and the planned load. The charger is considered a continuous load, meaning the electrical design must account for sustained operation rather than a brief appliance cycle. That is why selecting a charger based only on its plug type or advertised output can lead to problems.
A licensed electrician should evaluate the existing service and panel capacity. This review looks beyond the main breaker rating. It considers existing electrical loads, available breaker spaces, feeder capacity, panel condition, and the load calculation required for the property. A 200-amp panel, for example, is not automatically ready for any charger size. The home or building’s existing demand matters.
Older homes may need a panel upgrade, a service upgrade, or a load management solution before adding EV charging. In other cases, the panel has adequate capacity but needs a clean installation of a new dedicated circuit. Getting that answer early makes budgeting more accurate and prevents a charger from sitting unused while electrical upgrades are scheduled.
Plan for More Than One EV
Many households that purchase one EV eventually add a second. Businesses may begin with a few charging spaces and later expand for employees, customers, or fleet vehicles. It is often cost-effective to plan the pathway for future charging during the initial installation.
That may mean installing conduit with room for additional conductors, selecting a panel location with expansion in mind, or designing a commercial charging area around future parking spaces. The immediate project can remain right-sized while the infrastructure is prepared for the next phase.
Decide Between Plug-In and Hardwired Charging
Some Level 2 chargers connect through a receptacle, while others are hardwired directly to the branch circuit. Both options can be appropriate, but the decision should be intentional.
A receptacle can make it easier to replace certain equipment later. It also requires the receptacle, wiring, and circuit to be properly rated for continuous EV charging. A hardwired charger can provide a clean, permanent installation and may support higher charging output, depending on the equipment and electrical design.
For Tesla owners, a Tesla Wall Connector is commonly hardwired. Other EVs may use a manufacturer-provided mobile connector or a wall-mounted charger with a standard connector. The vehicle brand matters less than choosing listed equipment, correct circuit sizing, and a charger location that works every day.
Include Permits, Code Requirements, and Utility Costs
EV charging installations commonly require permits and inspections. These steps protect the property owner by verifying that the circuit, overcurrent protection, grounding, wiring methods, and equipment installation meet applicable electrical requirements. Skipping the permit process may create issues during a home sale, insurance review, tenant improvement, or future electrical work.
A professional installer can also identify site conditions that affect cost before work begins. The distance from the panel to the charger is a major factor. A garage adjacent to the electrical panel may need a straightforward dedicated circuit. A detached garage, parking deck, or remote commercial lot may require trenching, conduit, longer wire runs, or coordination with other trades.
Utility rates are another part of the plan. Some rate structures make off-peak overnight charging less expensive. Businesses with demand charges need a more careful review because multiple chargers operating at once can affect the facility’s electrical cost. Smart chargers and load management systems can help control when and how vehicles charge, but they should be selected as part of the site design rather than added as an afterthought.
How to Plan EV Charging for a Business Property
Commercial EV charging has two distinct use cases: charging for the public or employees, and charging for operations. A customer-facing charging station may be an amenity that needs clear access, payment capability, uptime monitoring, and an easy-to-understand parking policy. Fleet charging is an operating tool that needs dependable power when vehicles are scheduled to leave.
Before installing commercial chargers, document the number of vehicles, parking duration, charging schedule, expected growth, and who will manage the equipment. Then review the building service, distribution equipment, and route for conduit. For tenant upfits, coordination with the property owner, tenant, general contractor, and utility may be necessary to avoid conflicts with other electrical work.
Do not overlook communication and maintenance. Drivers need to know which spaces are charging-only, what hours or rules apply, and who to contact if equipment is not working. Facility teams need a clear record of panel locations, circuit identification, charger settings, and shutdown procedures. Clean labeling and coordinated installation make future service faster and reduce disruption.
Build the Project Around a Site Assessment
The most dependable EV charging plan starts with an on-site electrical assessment. Photos, charger specifications, and a rough parking location are useful, but they do not replace a review of the panel, service capacity, cable route, and site conditions.
For a home, have the vehicle model, preferred charger, parking location, and expected driving pattern ready for the electrician. For a business, add the anticipated number of chargers, operating hours, fleet requirements, site drawings if available, and plans for future expansion. This information allows the contractor to recommend practical options instead of guessing.
A well-planned installation should feel straightforward once work begins. The charger belongs where drivers can use it easily, the dedicated circuit is sized correctly, the installation is permitted when required, and the electrical system has been evaluated for both current and future demand. For Wake County homeowners and commercial operators, working with a licensed electrical contractor such as Stamper Electrical helps keep those decisions organized from the first site visit through final installation.
One response to “How to Plan EV Charging for Home and Business”
[…] is especially relevant for EV chargers. A Level 2 charger is a significant continuous load, and the correct circuit size depends on the charging […]