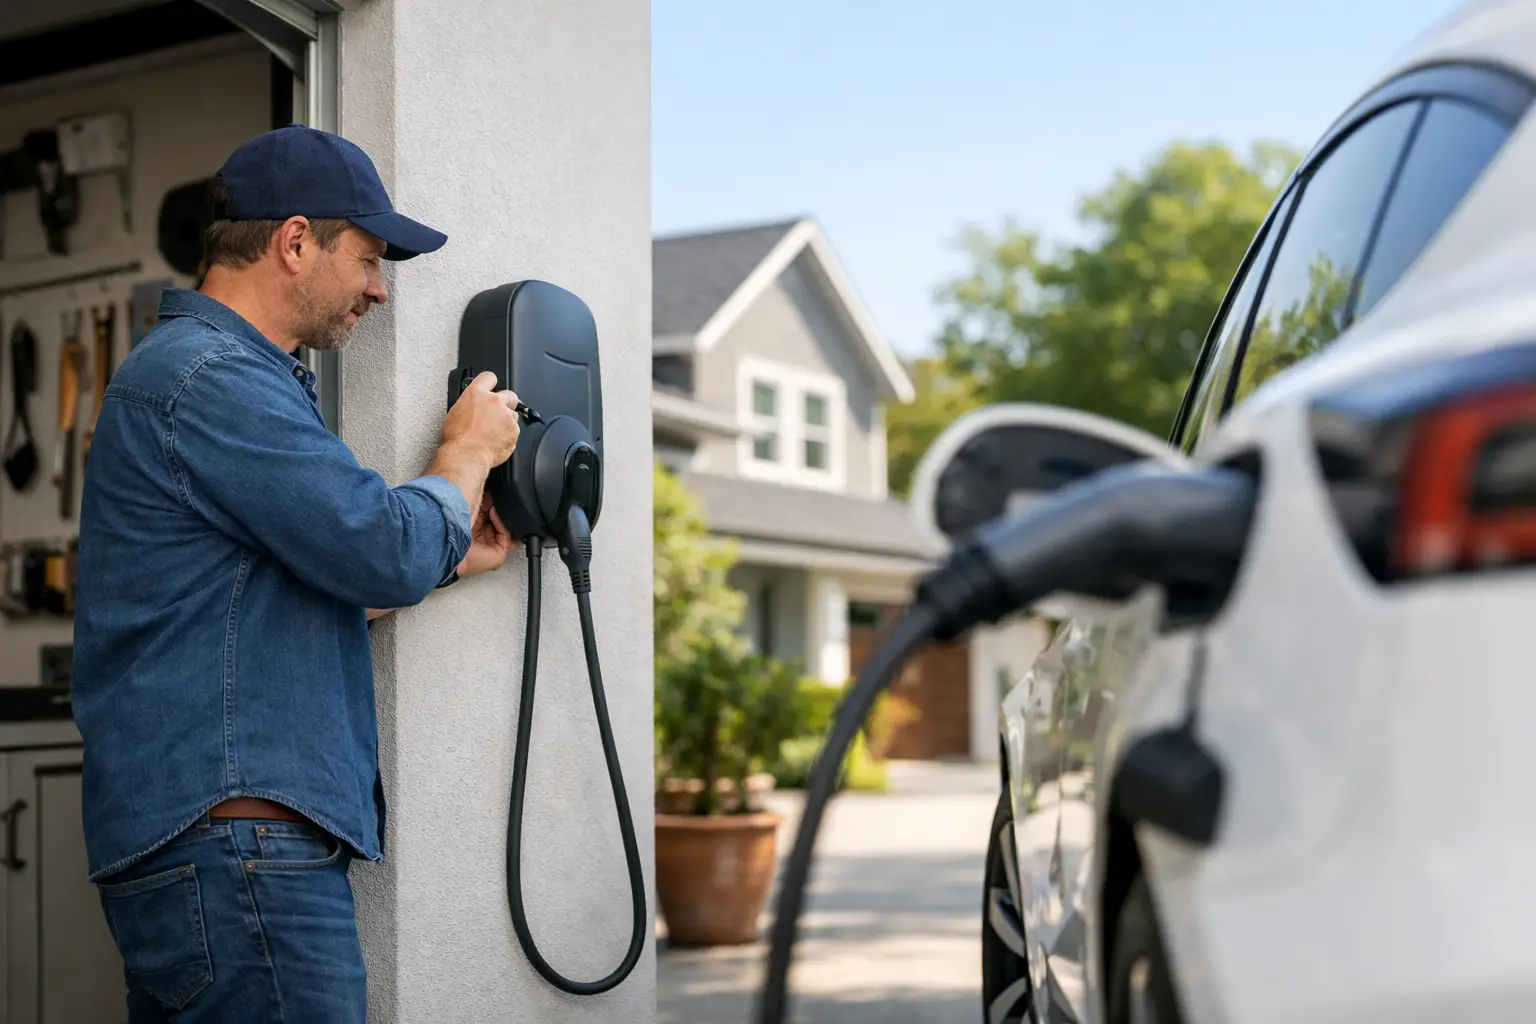
A Level 2 charger can turn an EV from an overnight inconvenience into a practical daily driver. But homeowners searching for how to install EV charger equipment often find that the charger itself is the simple part. The real work is confirming that the electrical system can support the added load, building a safe dedicated circuit, and completing the installation in a way that meets code.
For most homes, EV charger installation is not a do-it-yourself outlet swap. It involves high-amperage equipment, load calculations, breaker sizing, wiring methods, and permitting. A licensed electrician can evaluate the entire setup before work begins, so there are no surprises after the charger is mounted.
Start With the Charging Level You Need
Most EV owners considering home charging are choosing between Level 1 and Level 2. Level 1 charging uses a standard 120-volt outlet. It is slow but can work for drivers with short commutes, plug-in hybrids, or plenty of time between drives.
Level 2 charging uses 240 volts and is the better fit for most fully electric vehicles. Depending on the vehicle, charger, and circuit size, it can add substantially more range per hour than a standard outlet. It is also the usual choice for Tesla Wall Connectors and other hardwired home charging stations.
The right charging speed depends on your vehicle, daily mileage, and when you normally charge. A larger charger is not always the better answer. If the vehicle only charges at a certain maximum rate, or if the home has limited panel capacity, a properly sized 32-amp or 40-amp setup may make more sense than installing the highest-capacity unit available.
How to Install an EV Charger Safely
A professional installation starts with an electrical assessment, not with mounting the charger on the wall. The electrician reviews the main service, panel rating, existing breaker space, and the home’s current electrical demand. Electric ranges, dryers, water heaters, HVAC equipment, pools, workshops, and other large loads all affect the calculation.
An EV charger is generally a continuous load. That means the circuit and connected equipment must be sized to handle sustained charging without overheating or overloading. For example, a charger set to deliver 40 amps commonly requires a 50-amp circuit. The correct conductor size, breaker type, and installation method depend on the equipment rating and site conditions.
The installation usually follows a clear sequence:
- Assess the electrical service and panel capacity. The electrician performs a load calculation and checks whether the existing panel can safely serve the new circuit.
- Choose the charger location and route. The best location considers where the vehicle’s charge port sits, cable reach, parking habits, wall construction, and the path for conduit or cable from the panel.
- Install a dedicated circuit. A Level 2 charger needs its own properly sized circuit. It should not share power with a dryer, range, or other appliance.
- Mount and connect the charging equipment. The charger is secured, wired according to the manufacturer’s instructions, and set to the appropriate current level.
- Inspect, test, and explain operation. After the required inspection is complete, the electrician verifies charging performance and reviews the equipment with the homeowner.
Hardwired chargers are common because they eliminate the wear point of a receptacle and can support higher charging output. Plug-in units can also be a good option when properly installed with the correct receptacle and circuit. The charger manufacturer’s specifications and local code requirements guide that decision.
Check Panel Capacity Before Buying Equipment
The question is not simply whether there is an empty breaker slot. A panel can have physical space for another breaker while still lacking enough calculated capacity for a major new electrical load.
Some homes in Wake County have 100-amp services that already carry significant demand from electric heat, cooking equipment, laundry, and water heating. In that case, adding EV charging may require a panel upgrade, service upgrade, or a managed charging solution that limits the charger’s output when the home is using more power.
Homes with 200-amp service often have more flexibility, but they still require a proper evaluation. Recent remodels, finished garages, additions, hot tubs, and new HVAC systems can change the electrical load profile. A dependable installation accounts for the whole home instead of assuming a service size tells the entire story.
If a panel upgrade is needed, it can be a worthwhile improvement beyond EV charging. It may provide needed breaker capacity for future appliances, a kitchen remodel, workshop equipment, or additional lighting and outlet circuits. Still, it should be based on an actual assessment rather than treated as an automatic requirement.
Plan the Charger Location Before the Electrician Arrives
Charger placement affects both convenience and installation cost. The unit should be close enough to reach the vehicle without stretching the cable across a walkway, garage opening, or driveway. Consider where the charge port is located on the vehicle and whether you may park a different EV there in the future.
Garage installations are often straightforward because the charger can be mounted near the parking space. A charger on an exterior wall may need weather-rated equipment, proper sealing, and conduit that protects the wiring from physical damage. Detached garages, carports, and long driveways can require a longer underground or surface-mounted conduit run.
The route from the electrical panel matters as much as the mounting location. A short, accessible run through a garage can be relatively simple. A path through finished walls, crawlspaces, attic areas, masonry, or across a yard takes more planning and may increase labor and material costs. Clean workmanship means discussing those conditions in advance, not leaving customers to guess why the scope changed.
Permits, Inspections, and Utility Considerations
A permitted EV charger installation provides an independent check that the work meets applicable electrical requirements. Permit rules vary by jurisdiction, but a licensed contractor can determine what applies to the property and coordinate the required inspection.
Skipping the permit may seem faster, but it can create problems later. Unpermitted electrical work may complicate a home sale, insurance claim, renovation, or future panel work. More immediately, it removes a layer of accountability from an installation that carries substantial electrical load for hours at a time.
Some utilities offer time-of-use rates or incentives that make overnight charging more affordable. Your charger may include scheduling controls through its app, while the vehicle itself may offer similar settings. It is worth deciding which system will control the schedule so charging behavior stays predictable.
Choose Equipment That Fits the Electrical Plan
Before purchasing a charger, confirm that it is compatible with the vehicle and that its maximum amperage fits the planned circuit. Many chargers can be configured to lower output settings, which is useful when panel capacity or circuit size limits the installation.
Look for equipment listed by a recognized testing laboratory and designed for the installation environment. For outdoor locations, use a unit rated for exterior use. For homes with Wi-Fi limitations in the garage or driveway, smart features may be less useful than a durable charger with simple controls.
Tesla Wall Connectors, universal Level 2 chargers, and vehicle-specific connectors can all work well when selected for the right vehicle and electrical setup. The best choice is usually the one that gives the homeowner reliable charging without forcing an unnecessary electrical upgrade.
What a Professional Installation Should Include
A complete installation is more than a charger mounted neatly at eye level. It should include a dedicated circuit sized for the equipment, proper overcurrent protection, secured wiring or conduit, code-compliant terminations, and testing after energizing the system.
Good communication matters here. The homeowner should know whether the scope includes permitting, whether drywall access or trenching is expected, what charger settings will be used, and when the system will be ready to charge. For commercial properties and tenant upfits, coordination also includes site access, operating hours, parking impacts, and the possibility of future charger expansion.
Stamper Electrical LLC helps homeowners and commercial customers evaluate panel capacity, install dedicated EV charging circuits, and complete charger installations with clean workmanship and clear communication. The goal is simple: charging equipment that works reliably without creating hidden electrical problems elsewhere in the property.
Before ordering a charger, schedule the electrical assessment. A few measurements and a proper load calculation can turn an uncertain project into a charging setup that fits your vehicle, your home, and the way you actually drive.